
Do you have a shirt like this and the sleeves are too short or you think it's too boring?

I snooped around my mum's studio downstairs (she is a wedding dress maker) and window shopped in Westfield to brainstorm a cool design :)
The first thing I did was cut off the sleeves (it helps if you have sharp sewing scissors-my mum has these really good ones that make cutting through fabric really easy :D )

I kept the cuffs

At first I was going to do a design like this:


Anyway so I decided to do a different design so it's okay to change designs and brainstorm new ideas at any time-in fact it's fun to ! :D

I pinned it onto black material and cut out the shape.

Because my mum sews wedding dresses, she had threaded the machine adn he bobbin with white so I had to change it to black so any mistakes in the stitching wouldn't show up that clearly.
To eliminate messy frayed ends, I sewed around the edges of the black pocket like this.


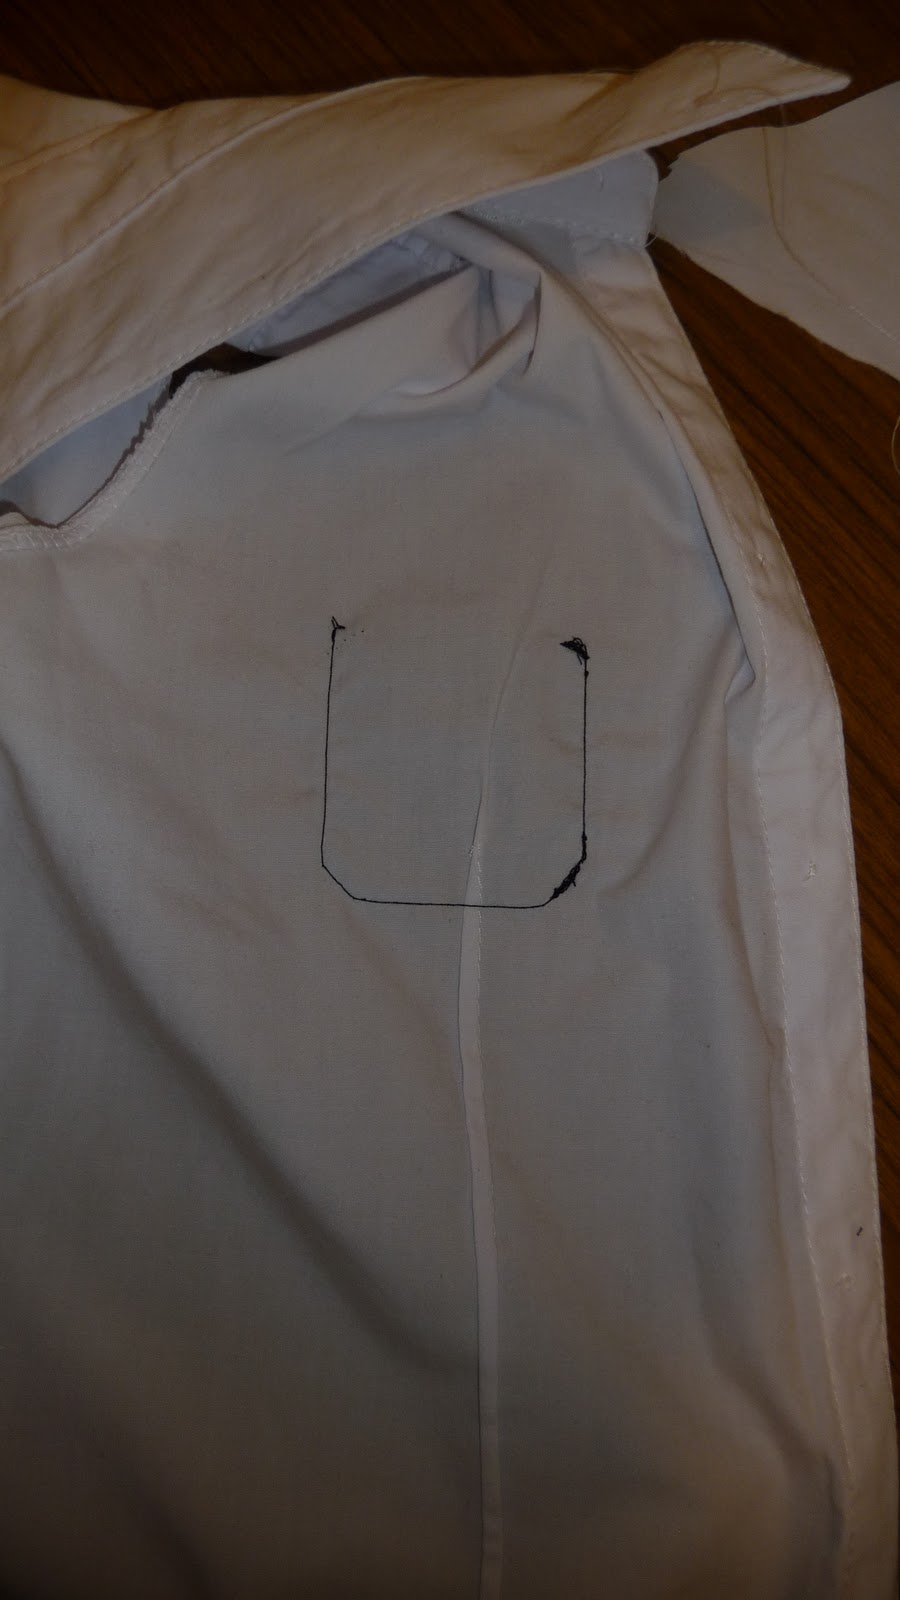
The inside should be something like this:

Cut off the white button, then push the needle through the underside of the fabric where the button was and the knot will then hold the string to the fabric, push the button onto the needle and then go through the hole in the button down through the shirt and back up again several times until the button is secure and won't move.
NB: Be careful to, when replacing buttons, choose buttons that are of similar size to the original buttons or otherwise the shirt won't be able to button up because the buttonhole might be too small/too big.
Continue the process of replacing the original buttons with ones you have picked out.


ANYWAY TA-DA we are done!! Now you have a cool new shirt you made all by yourself! It took me around 2-3 hours (most of the time was spent changing all the thread on the machine to black and when the machine for some reason failed and I was like ARGH cos I had to unpick the whole pocket and turns out the bobbin thread got stuck somewhere etc)
Hope I inspired some of you! Here is a pic of me wearing it btw with my new pink pleated skirt my sister bought for me :)

Love: Michelle
P.S. When I was downstairs sewing it was around 9pm and I heard this whining by the window and guess whose face I saw at the window?

I got so excited seeing all your pictures and then the finished product! It looks awesome!
ReplyDeletethat's sooo pretty!!! (:
ReplyDeleteAw thanks guys!! :')
ReplyDeleteDUDE THIS IS AWESOME!
ReplyDeleteCan i ask a question; what did you do to the sleeves after you cut them? Did you have to sew the hems so it didn't fray?
No I didn't have to because of the way my blouse was originally sewn meaning there were seams already at the armholes and therefore wouldn't fray and I cut all the way up to those seams :)
ReplyDelete